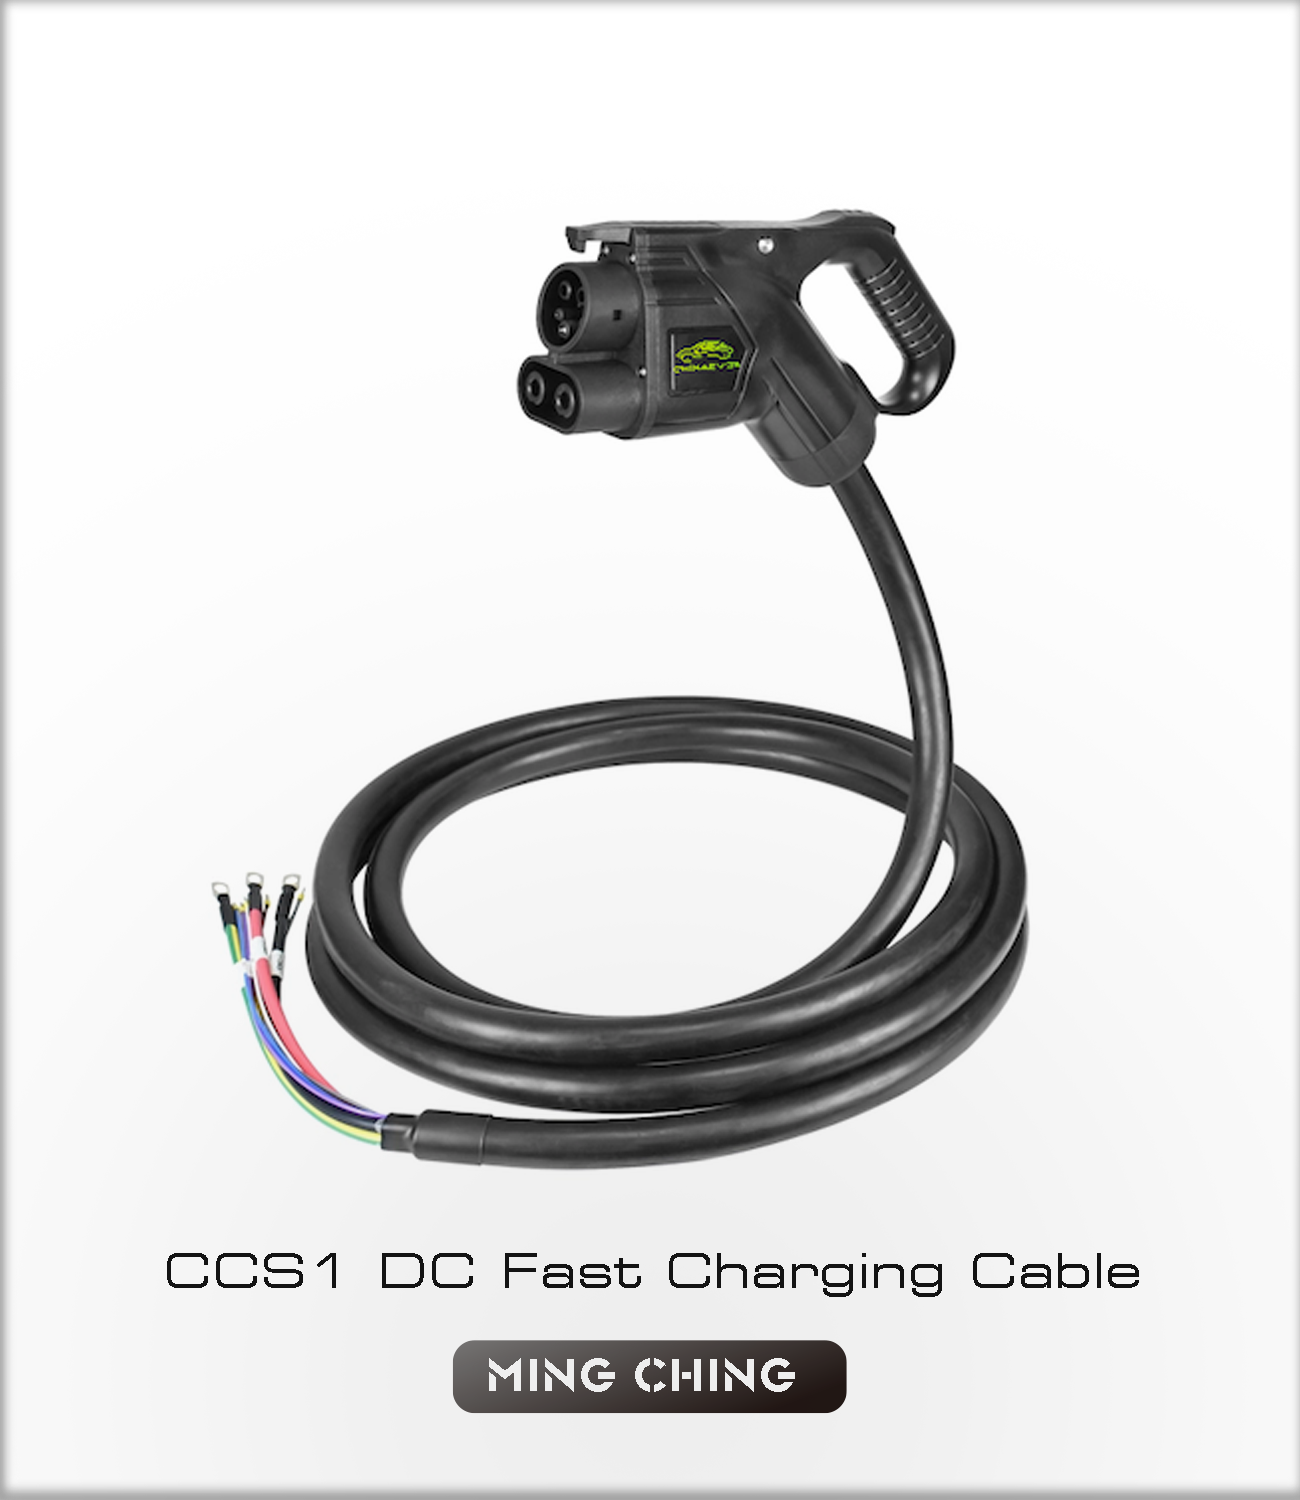
A car diagnostic cable is an essential tool that connects a vehicle's onboard computer to a diagnostic tool or scanner. By linking the vehicle's OBD-II system to the diagnostic device, these cables enable the retrieval of diagnostic trouble codes (DTCs), which are crucial for identifying vehicle malfunctions. This process and connectivity are fundamental to understanding and addressing issues with vehicle performance. There are various types of diagnostic cables, including USB, Bluetooth, and Wi-Fi variants, designed for different scanning tools and vehicle systems. Each type offers unique advantages depending on the specific requirements of the vehicle and the diagnostic equipment used.
OBD-II systems consist of several key components, including the Engine Control Unit (ECU), sensors, and the diagnostic connector. These components are strategically integrated to monitor the vehicle's performance and emissions, providing a comprehensive overview of potential issues. The ECU is the central component that processes data and controls engine functions, while sensors gather data on various vehicle parameters. The diagnostic connector interfaces with car diagnostic cables to facilitate error detection and data retrieval. Understanding how these components interact is essential for interpreting the data obtained using car diagnostic cables, and it contributes to efficient vehicle maintenance and troubleshooting.
Accuracy in vehicle diagnostics is critical because it directly impacts repair decisions and vehicle safety. Inaccurate readings can lead to unnecessary repairs or overlooking significant issues that could pose safety risks. It is important to rely on precise diagnostic results to ensure the vehicle is operating optimally and safely. Studies have demonstrated that accurate diagnostics improve repair efficiency, reducing time and costs associated with vehicle maintenance. Inaccurate diagnostics could lead to missed problems or remedial efforts that don't address the core issues. Therefore, investing in reliable diagnostic tools and techniques is indispensable for maintaining vehicles efficiently and safely.
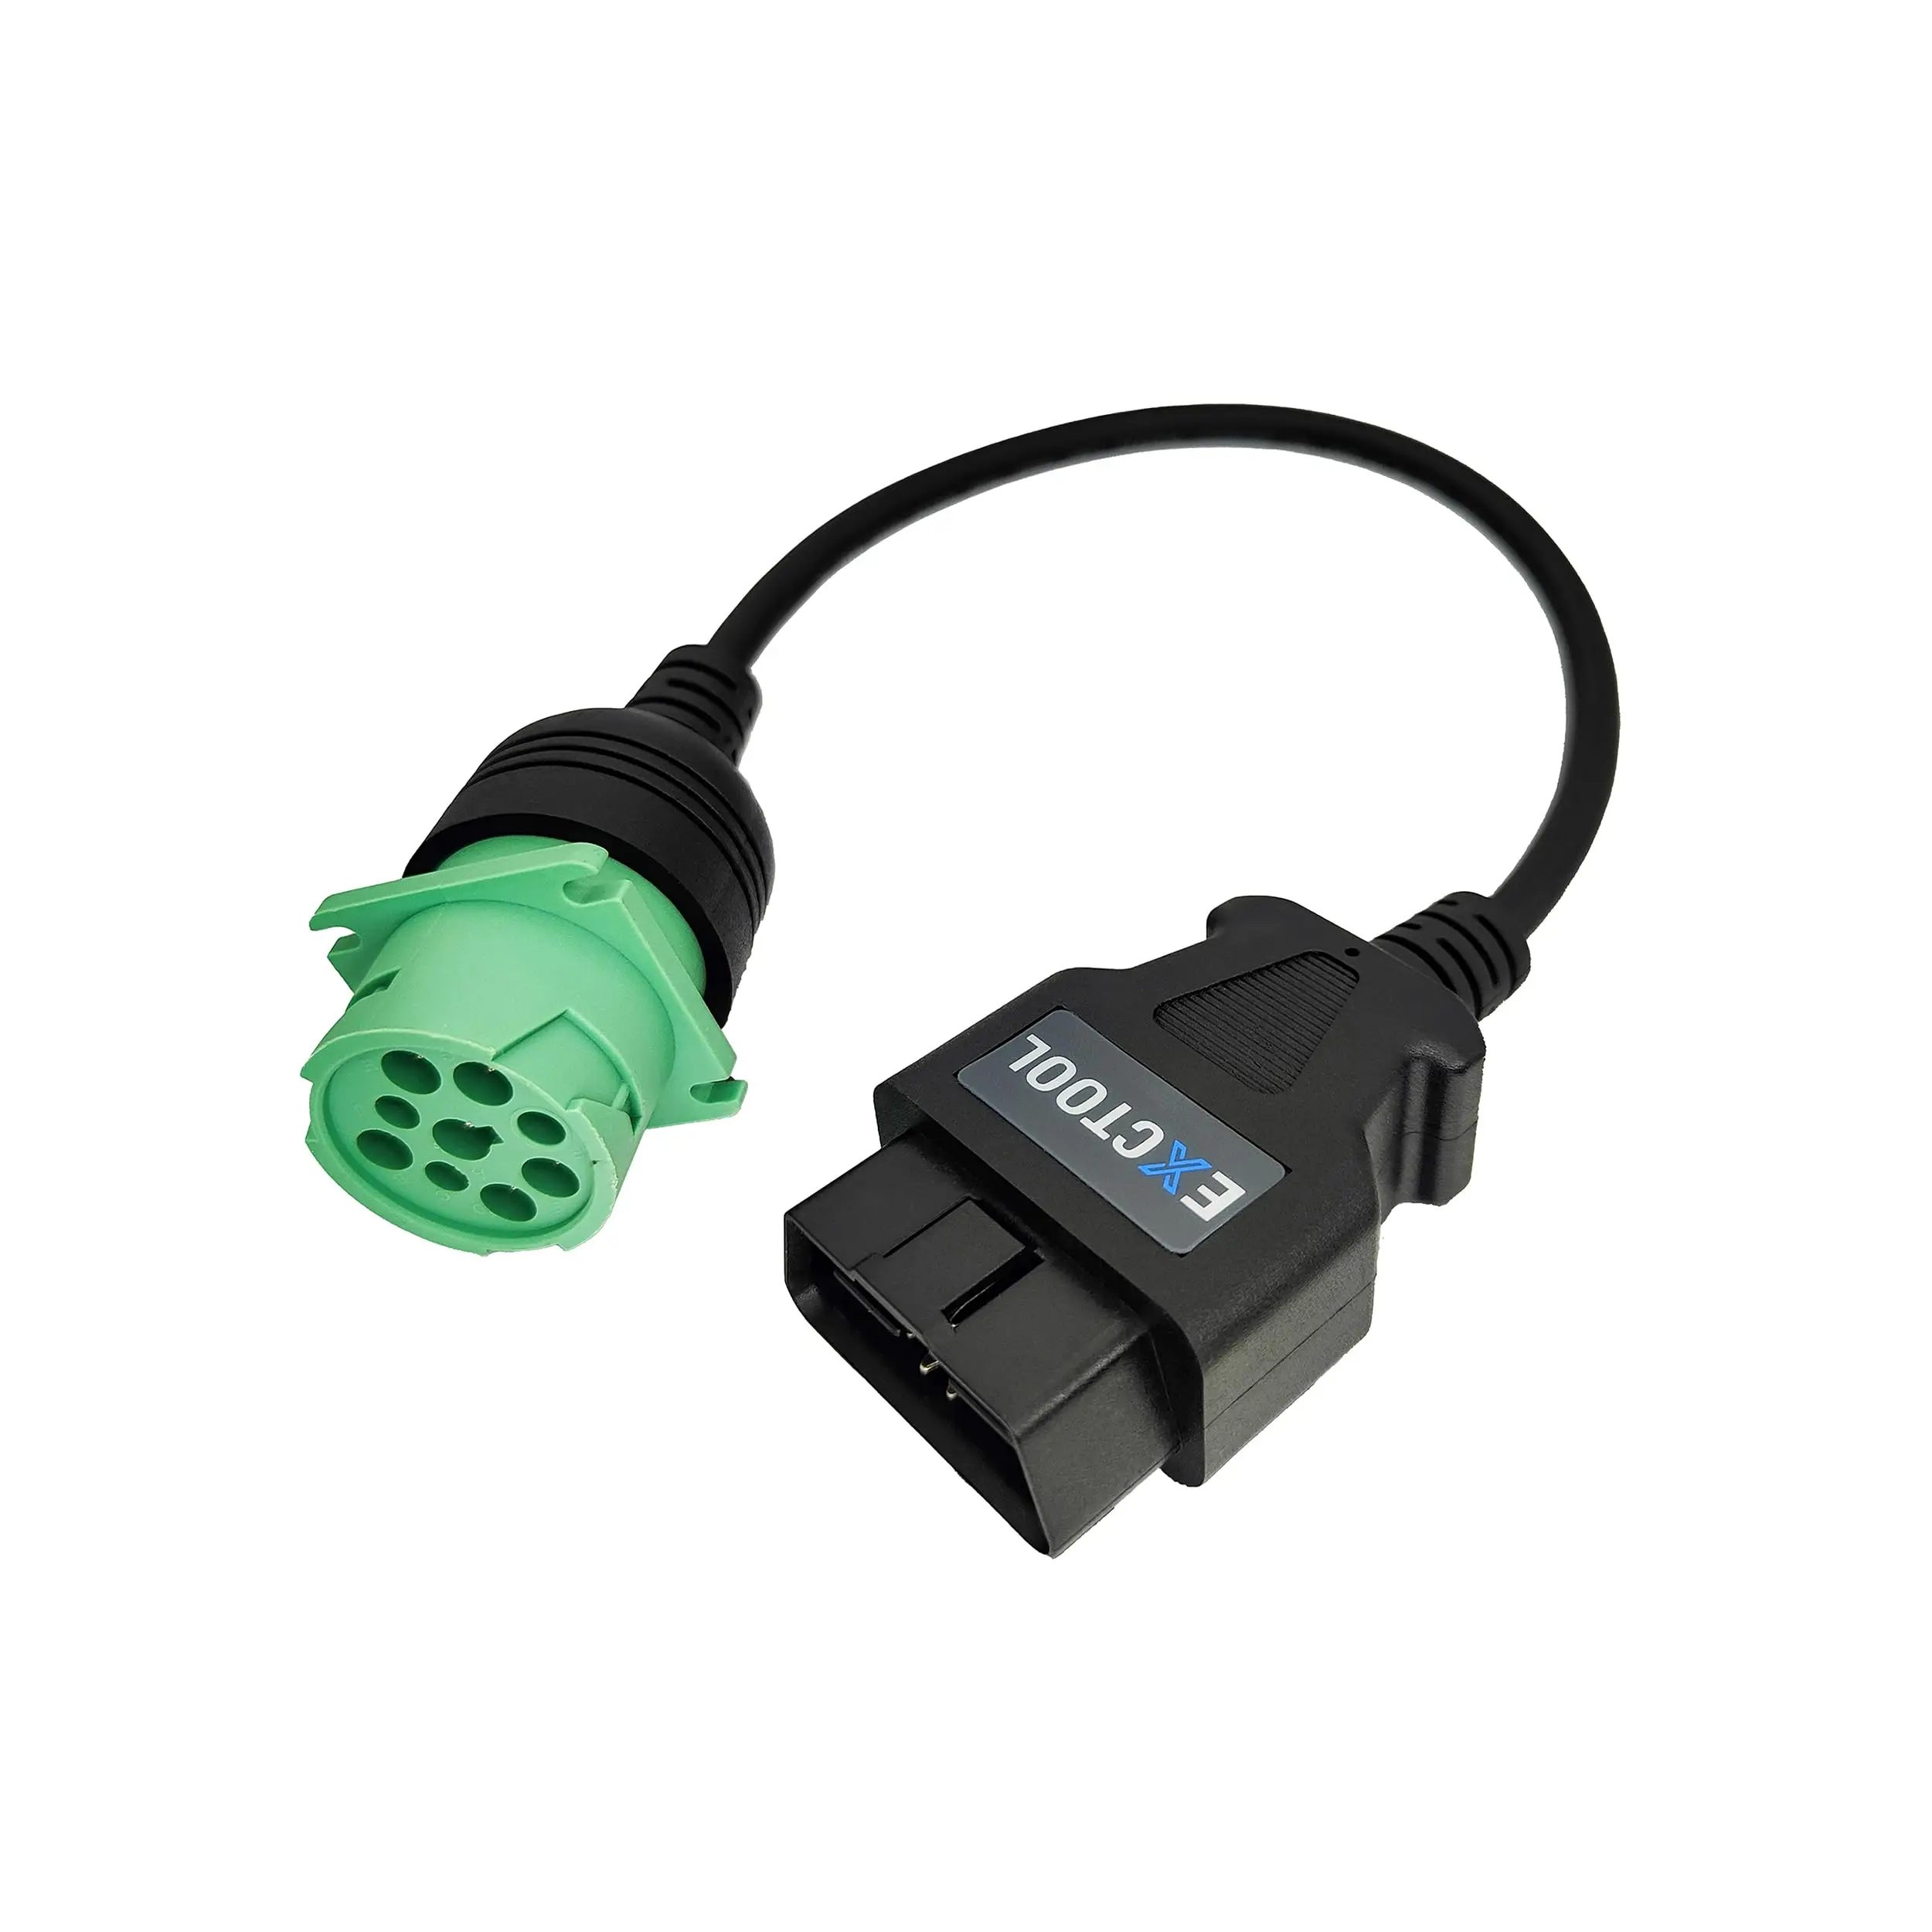
Finding the OBD-II port is the first step when using a car diagnostic cable. Typically, this port is located under the dashboard, near the driver’s seat. It is characterized by a distinct trapezoidal shape and may sometimes be concealed beneath a plastic panel. Since the exact location can vary depending on your vehicle's make and model, referring to the vehicle's owner’s manual is advisable for precise guidance. The manual usually includes diagrams or descriptions that can aid in locating the port efficiently. Understanding the port location is crucial for the subsequent diagnostic procedures.
Properly connecting the diagnostic cable to the OBD-II port is essential to ensure accurate vehicle diagnostics. Before plugging in the cable, turn off the vehicle to prevent any electrical surges. Make sure the connection is secure; a loose cable can lead to interruptions during the data transfer. Once securely connected, turn on the vehicle's ignition – but do not start the engine just yet. This step powers the diagnostic system, allowing it to communicate with the vehicle's onboard computer for data retrieval. Ensuring a strong connection can significantly impact the readings by maintaining uninterrupted communication.
Reading live data streams provides real-time insights into the vehicle's performance, highlighting any immediate issues. These data streams can include critical parameters such as engine RPM, vehicle speed, and coolant temperature. Understanding how to interpret this information is vital to diagnosing potential problems effectively. Recording these data streams during the diagnostic session allows for detailed analysis and comparison over time, helping to track patterns and make informed decisions about the vehicle's maintenance needs. Such records can serve as valuable references for future diagnostic work or during consultations with automotive professionals.
The P0XXX series codes are universally recognized within the automotive industry as they indicate generic faults across various vehicle systems. Each code in this series corresponds to a specific fault related to sensors or components, which facilitates precise troubleshooting. For instance, the code P0171 represents a "system too lean" condition in bank one, often pointing towards potential fuel delivery issues. Knowing this kind of information can substantially aid mechanics in identifying and resolving problems efficiently, ensuring the vehicle operates at its optimal performance. Understanding these codes is crucial for anyone looking to effectively manage vehicle health and maintenance, especially when dealing with complex systems such as those found in modern commercial trucks, often referred to as "diagnostic trucks."
In addition to the standard codes like the P0XXX series, manufacturers often develop unique codes that provide even more detailed diagnostics specific to their vehicles. These manufacturer-specific codes are essential for accurate diagnostics and repairs, as they often uncover issues that generic codes may not. Leveraging these codes enables a deeper insight into faults, leading to more effective maintenance strategies. For instance, utilizing a manufacturer’s reference manual or accessing online databases can clarify these codes, aiding technicians in delivering precise repairs. Understanding these intricate details is vital, especially when working with advanced systems in commercial vehicles referred to in the industry as "diagnostic truck man."
Clearing diagnostic trouble codes can sometimes be suitable, particularly after repairs have been completed, as it resets the vehicle’s system, allowing for fresh monitoring. However, clearing codes without addressing the underlying issues could lead to recurrent problems and potential vehicle malfunctions. It is crucial to adhere to diagnostic best practices which involve recording the DTCs, conducting a thorough diagnosis, and addressing the root cause before deciding whether to clear the codes. This approach ensures the longevity and reliability of the vehicle, preventing unnecessary complications and ensuring the vehicle's diagnostic systems operate correctly.
Connection failures with diagnostic cables can stem from various sources including improper cable connections, faulty cables, or issues with the OBD-II port. To effectively address these problems, it's essential to start by checking all cable connections to ensure they are secure. Inspect the cables for signs of wear or damage, as these can impede proper functioning. Additionally, the cleanliness and accessibility of the OBD-II port should be verified to guarantee optimum performance. If issues persist, trying a different cable or scanner might help isolate the problem, which can aid in determining whether the issue lies within the vehicle or the diagnostic equipment.
'No Communication' errors are common when there is a disconnect between the scan tool and the vehicle's electronic control unit (ECU). These issues may arise from incorrect vehicle settings or compatibility discrepancies between the diagnostic tool and the vehicle model. To resolve these errors, ensure that the diagnostic tool is suitable for the vehicle model in question, as compatibility is crucial for seamless communication. Restarting the vehicle and verifying that the OBD-II port is receiving power can also help mitigate potential communication problems. These steps can often restore the connection needed for precise diagnostics.
Accurate data is critical for proper vehicle diagnostics, yet inaccurate or incomplete data readings can be caused by faulty sensors, poor connections, or outdated software within the diagnostic tool. Regular software updates of the diagnostic tool are imperative to ensure that any glitches are patched and improve data accuracy. Inspecting and ensuring proper connections to sensors can minimize inaccuracies, as faulty sensors can provide misleading data. It's also vital to validate data against manufacturer specifications to guarantee its reliability and accuracy during diagnostics, ensuring that all gathered information is pertinent and correct.
Ensuring that you avoid cable damage during diagnostics is crucial for maintaining their longevity. I always make a conscious effort to prevent sharp bends and excessive pulling on cables, as these can lead to physical harm over time. Additionally, it's wise to store cables securely when not in use, protecting them from heat and moisture that can degrade the materials. Regularly inspecting cables for wear and tear is another proactive step to preserve their usability.
Optimizing the settings of your scan tool can greatly enhance diagnostic results by capturing relevant data more efficiently. Understanding parameters such as data refresh rate and protocol selection is essential, as they significantly impact diagnostics. By keeping them fine-tuned and adjusting them based on different vehicle types, I find that diagnostics become more accurate and informative, leading to better decision-making.
Cable integrity is best upheld through consistent maintenance practices. Regular cleaning of connectors and checking for frays and damages are fundamental procedures I rely on. Implementing cable management solutions further prevents tangling and physical damage. Investing in high-quality cables designed for durability will also extend the lifespan of diagnostic tools and enhance their reliability.
 Hot News
2024-06-21
2024-06-21
2024-06-21